Editing Videos on a Macintosh Computer Using iMovie HD
Table of Contents
- Part 1 - Extracting the Video
- Part 2 - Editing the Video and Adding Titles
- Part 3 - Exporting Your Video
Part 1 - Extracting the Video
1. Make sure your 8mm tape is in the DV camcorder.
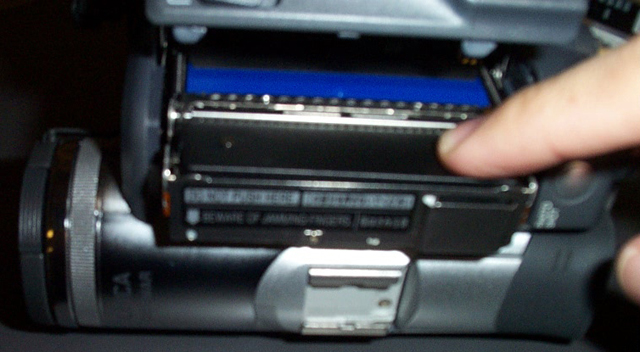
2. Find the Firewire plug on the camcorder and plug in the Firewire cord.
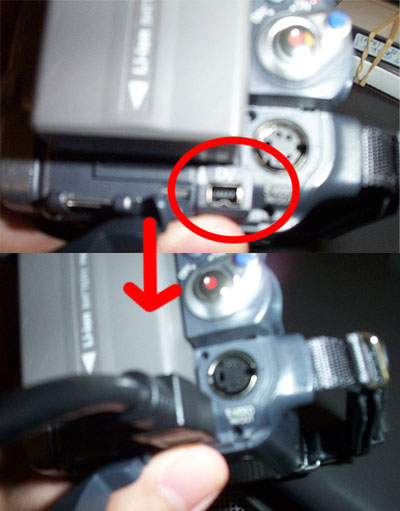
Set the camcorder to PLAY mode.
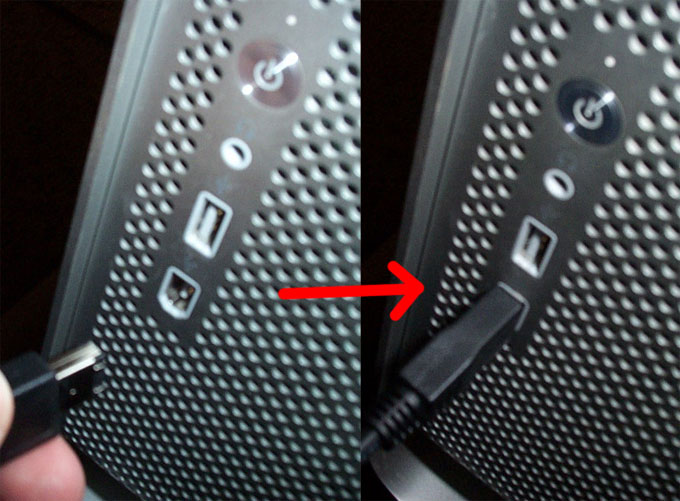
3. Find the Firewire port on the computer's system unit and plug in the Firewire cord.
4. Turn on the camcorder
5. Open iMovie HD.
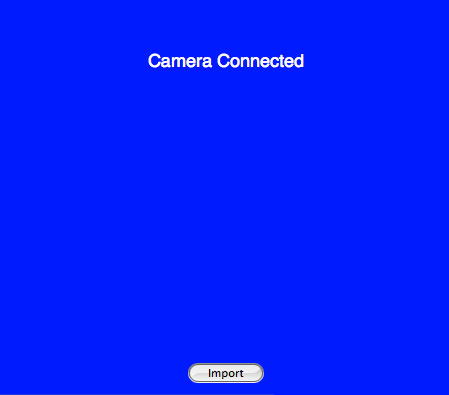
6. Switch to Import mode. Make sure your camcorder is in PLAY mode.

The following screen should appear. If not, check your camcorder's mode and connections.
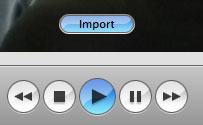
7. Click the "Import" button and press the PLAY button in iMovie.
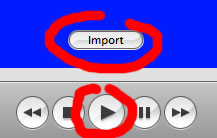
The buttons should turn blue, indicating that the clips are being imported.
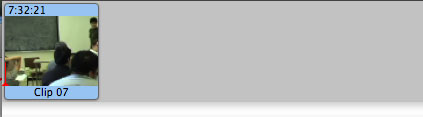
8. After you are done importing the clips, press Import again to stop. A clip should appear in the Clips browser.

Part 2 - Editing the Video and Adding Titles
1. Switch to Edit mode.

2. Drag your clip(s) from the Clip Browser to the Timeline.
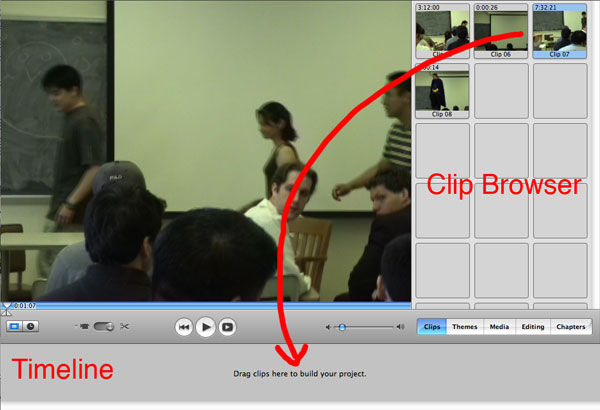
Your clip should appear in the timeline.
3. Here's how to edit your clip and add titles.
- EDITING
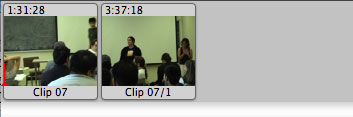
Click and drag the Start and End markers to select the portion of the clip you want to save.

Press Command + X to cut the portion of the clip out. Your original clip should be split in two now.
Press Command + V to paste the clip back into the timeline. The cut portion appears between the two unneeded clips.
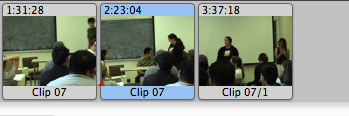
Remove the other unneeded clips from the timeline by dragging them either back to the Clip Browser or the Trash.
- ADDING TITLES
Click the "Editing" button to open up the Editing Tab.
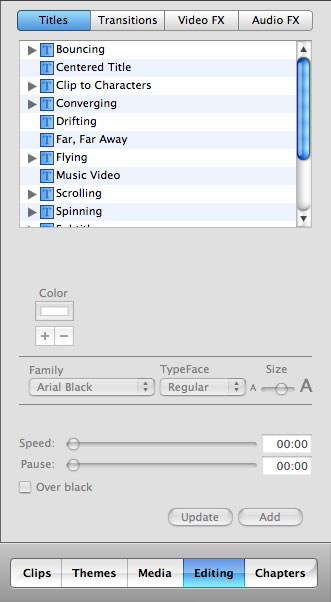
Choose the type of Title you want to add to your video. Here, I have chosen the "Centered Title".
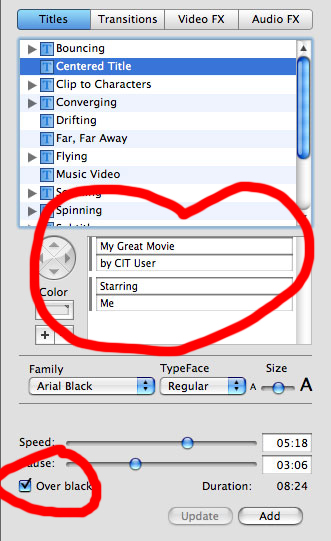
Change the text to the title of your skit and the names of your group members. Use the sliders to fine-tune the timing. You can also change the font, face, and size of your text.
Make sure "Over black" is checked unless you want your title text to overlap your video.
After you are done customizing your title, click the "Add" button to add the Title clip to the timeline.

If needed, you may click and drag the Title clip to the right place in your movie.
Part 3 - Exporting Your Video
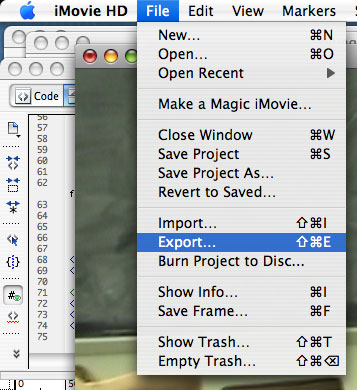
1. Click "File > Export ..."
2. You will need to export your video into three formats:
- QUICKTIME WEB STREAMING FORMAT:
Select "Web Streaming" from the "Compress movie for:" drop-down menu.

Click "Share". Choose a location to save your movie file. Click "Save".
- FULL QUALITY FORMAT:
Select "Full Quality" from the "Compress movie for:" drop-down menu.
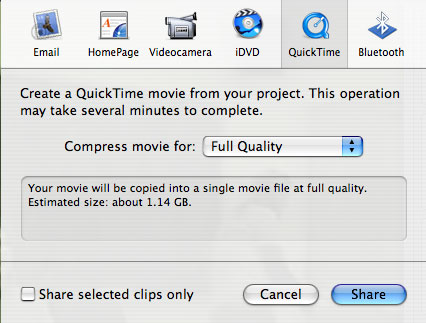
Click "Share". Choose a location to save your movie file. Click "Save".
- MPEG-4 FORMAT:
Select "Expert Settings" from the "Compress movie for:" drop-down menu.
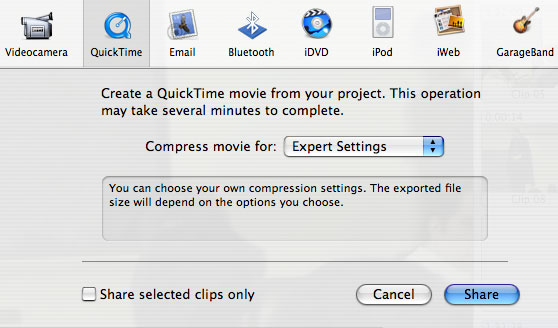
Click "Share". Make sure "Movie to MPEG-4" is selected in the "Export:" drop-down menu.
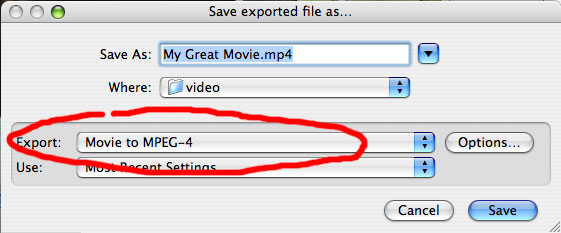
Choose a location to save your movie file. Click "Save".
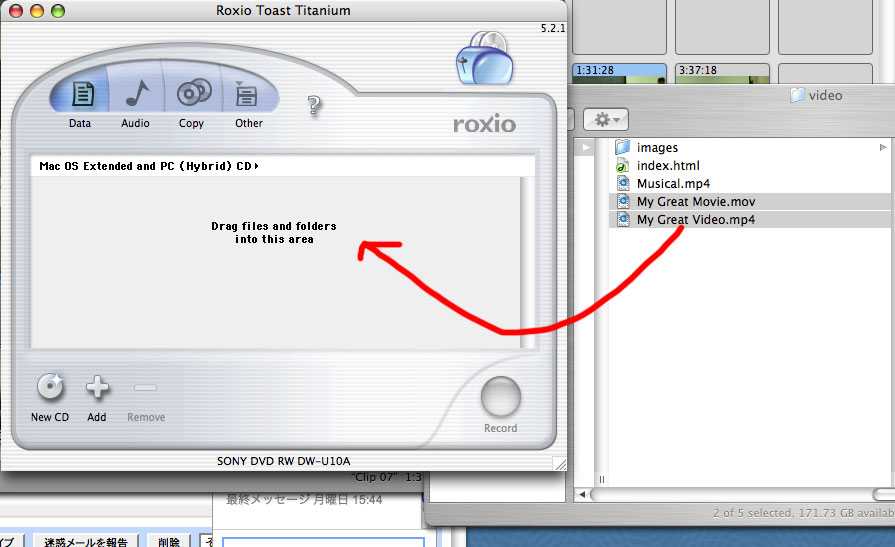
3. Use a CD-burning software suite to burn the exported videos to disc. Here, I used Roxio Toast Titanium.
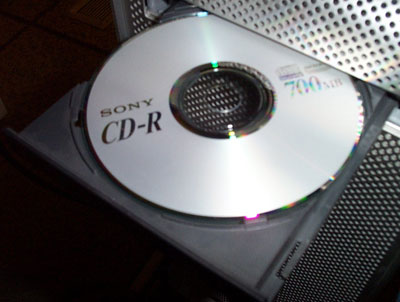
Insert a blank CD into the CD-burner drive.
Drag the files into the CD-burning application.
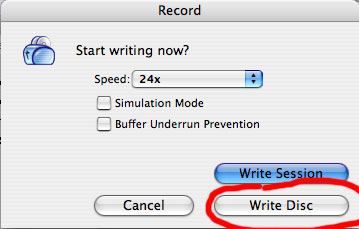
Click the "Record" button.
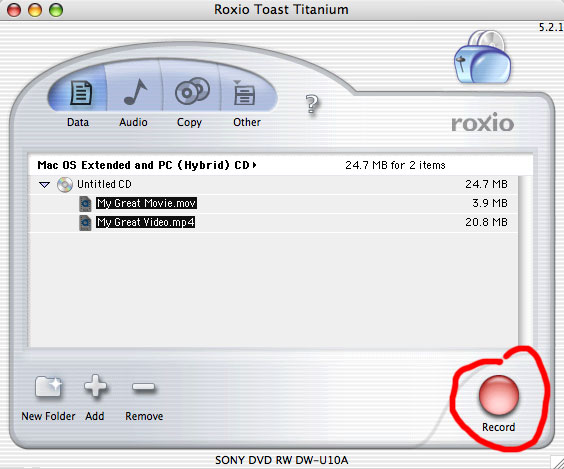
Click "Write Disc".
Hooray! You're done!